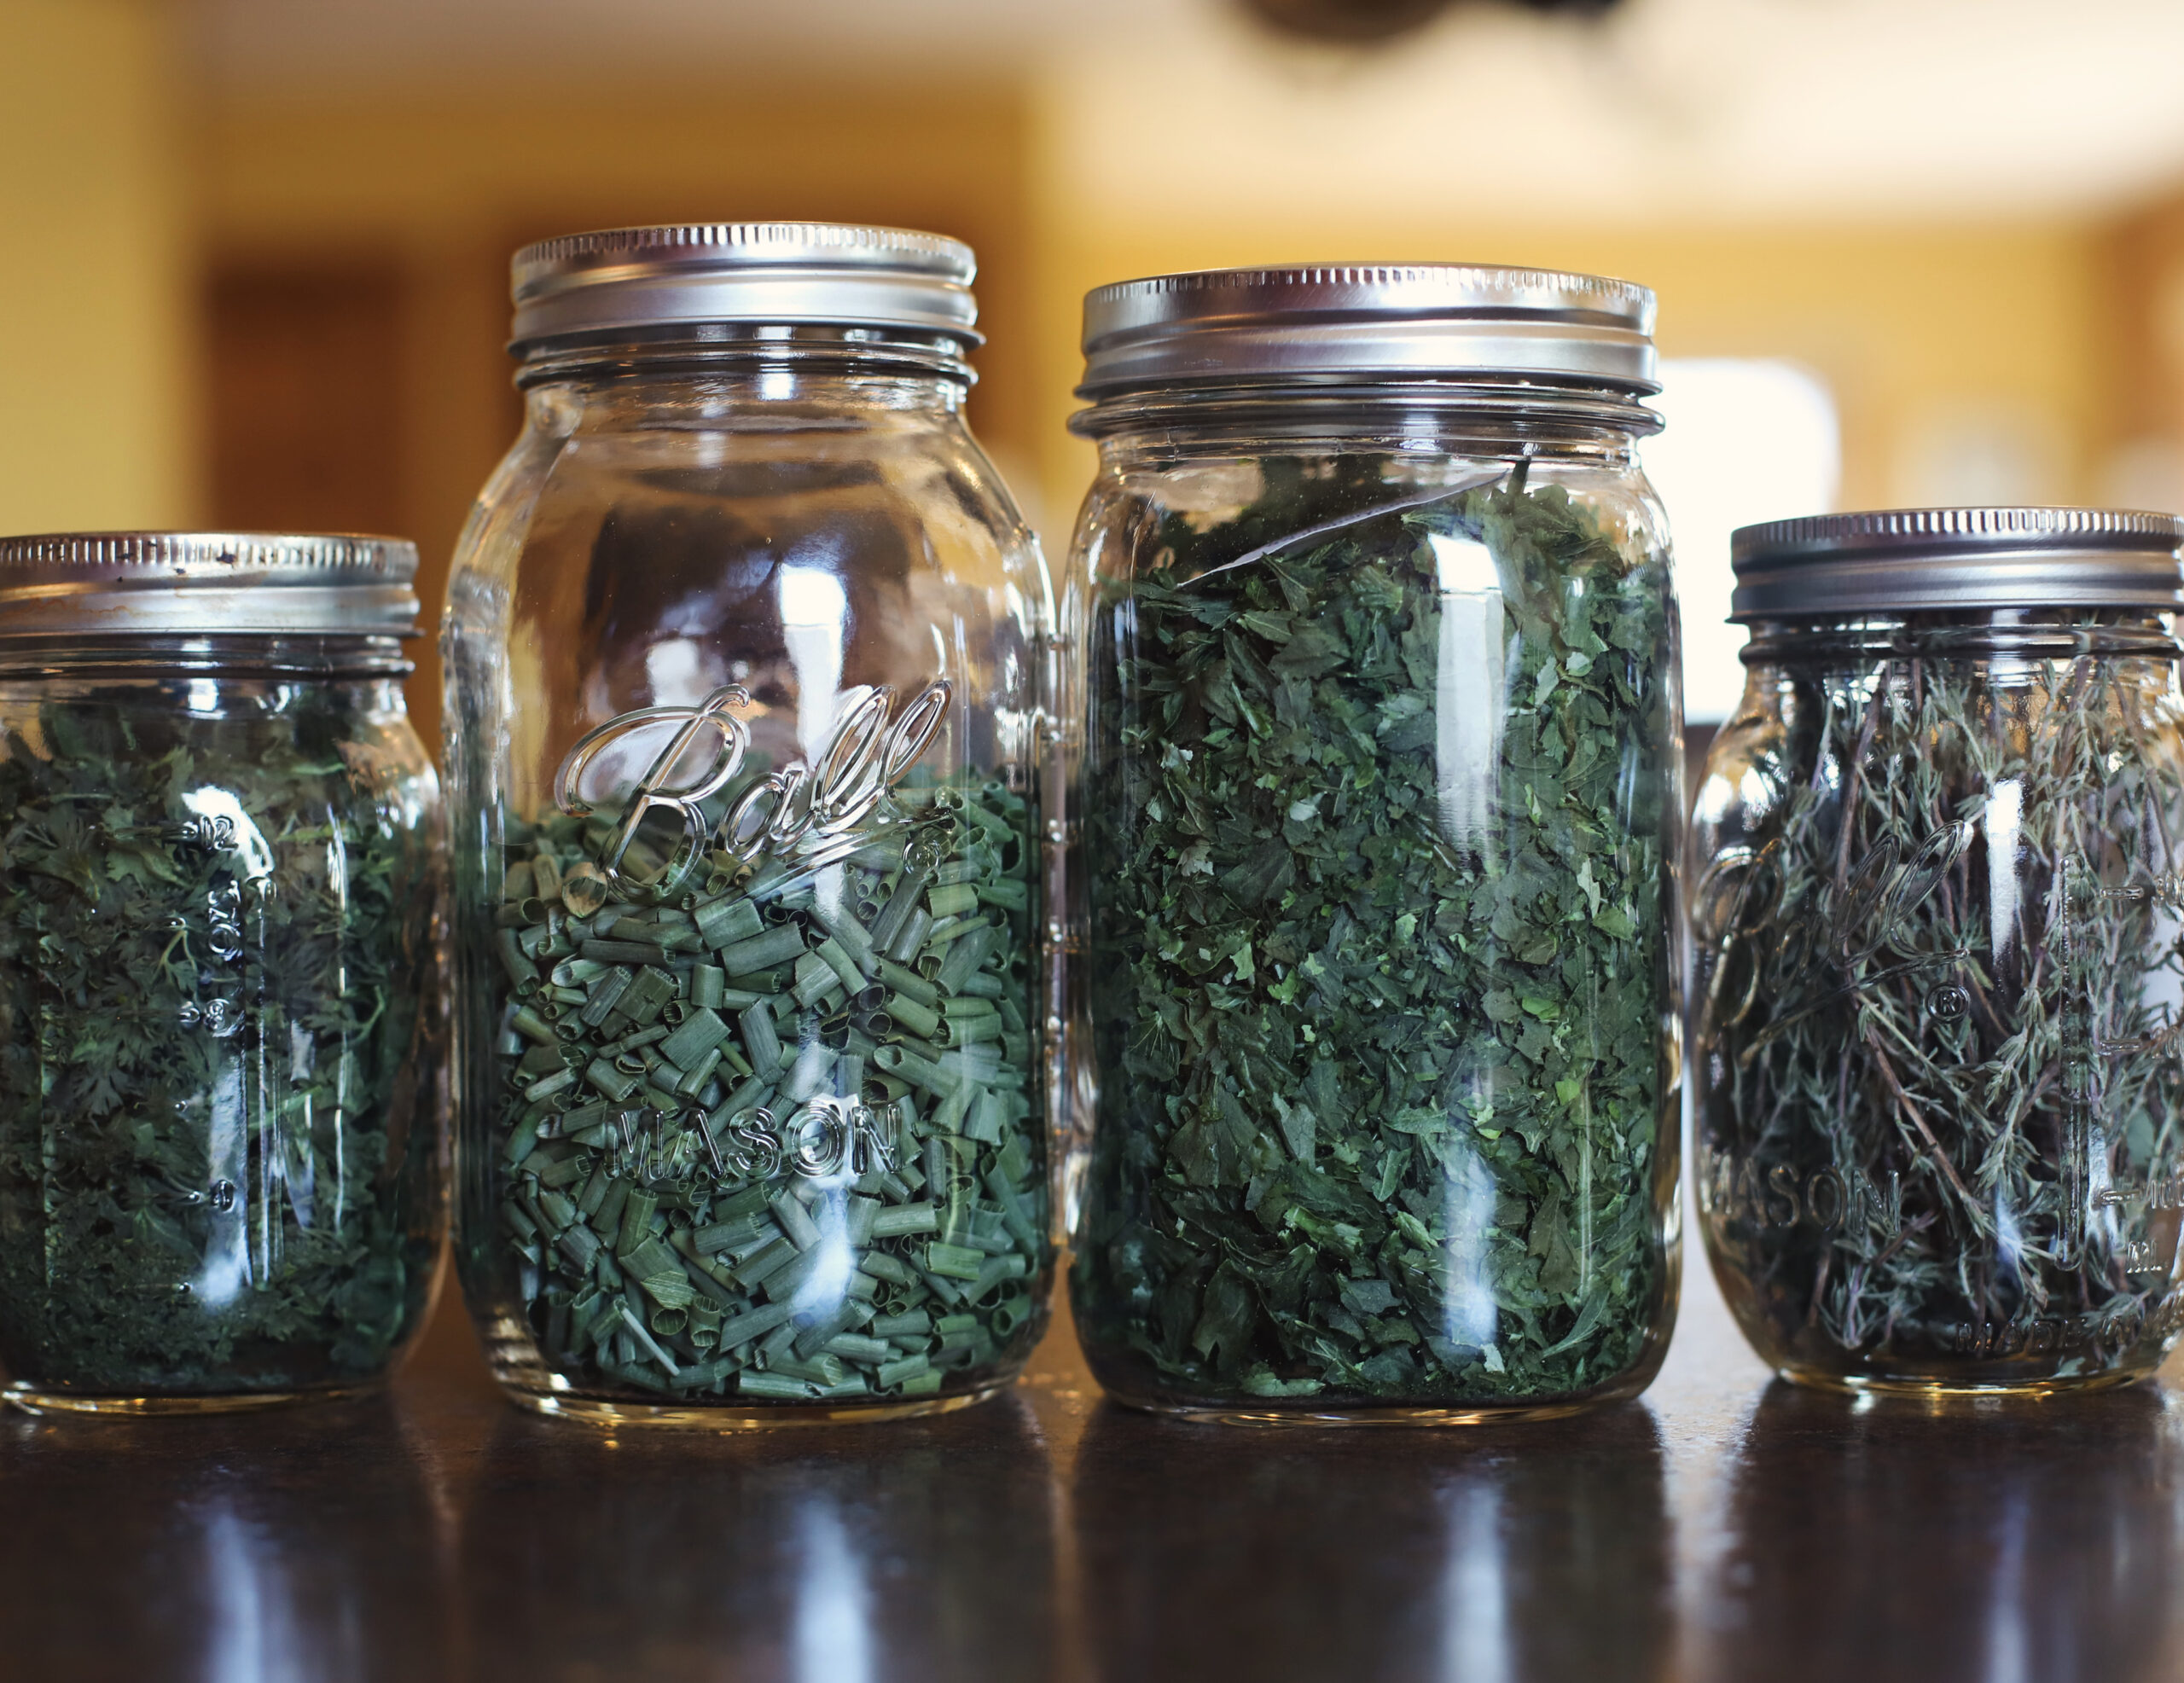
Freeze dried herbs
Freeze drying our garden fresh herbs has been a complete culinary game changer in the kitchen….let me tell ya! Our Harvest Right freeze dryer sure gets a work out around here!
You see, herbs and spices have something called volatile oils that given them their vibrant flavor. What diminishes or destroys those volatile oils?…heat. Volatile oils, explained simply, are the oils contained in almost every whole spice including the leaf, seed, stem, root or bark. These oils may contain up to several hundred chemical compounds and when combined, this mixture gives spices their characteristic flavors and aroma. So, by applying heat during dehydration, these oils are reduced thereby reducing their vibrancy. In years past I have dehydrated our herbs using our little Nesco dehydrator, but found that they they most definitely lose their vibrancy of color and a lot of their flavor.


To freeze dry herbs, there are a few simple steps to follow. To minimize wilting and maximize flavor, gather herbs in the morning of a dry day, just after dew has evaporated. Harvesting during the heat of the day can stress your plant and adversely affect future growth. Plus, who wants to get all sweaty and gross while harvesting?
Rinse thoroughly and dry with paper towels. During the rinsing process, I typically check them over for any insects or brown leaves and remove them. I try not to rub them too vigorously, or scrub them, as this tends to release the oils and scents of the herbs that we want to preserve.
Before you begin preparing your herbs for the trays, turn on your freeze dryer as it will typically take about 15 minutes to get cooled down before you can load trays.
Once you’ve rinsed and inspected your herbs, prepare them for the freeze dryer. When arranging them on your trays, try not to pile them too much higher that the edge of your tray. This will affect dry time. Here are a few examples of herbs that I freeze dry and how I prep them for the freeze dryer:
- Parsley – Pull the leaves off the stem and arrange them on the tray – sometimes by hand but most times with a sterilized pair of scissors.
- Cilantro – Pull the leaves off the stem – sometimes by hand but most times with a sterilized pair of scissors.
- Sage – Pull the leaves off the stem – sometimes by hand but most times with a sterilized pair of scissors.
- Thyme – Lay these out with their stems. Trust me, the leaves will separate from the stems beautifully after freeze drying when you need to use the thyme. It’s a huge time saver as pulling those tiny leaves off is quite tedious and also roughs them up and releases valuable flavor.
- Dill – Lay these out with their stems. Like thyme, this will crumble just fine after freeze drying and save you the tedious step of separating all those tiny leaves.
- Rosemary – I tend to separate the leaves from the stems with my rosemary. If you don’t separate, make sure that you cut the stems in lengths that will fit the jar you intend to store them in. Otherwise it will be a bit like trying to stuff your old crispy Christmas tree out the door after Christmas – needles everywhere…as me how I know…
- Oregano – Pull the leaves off the stem – sometimes by hand but most times with a sterilized pair of scissors.

Once your herbs are washed, prepped and on your trays, load them into your freeze dryer and press start. Then we wait for the deliciousness to complete its cycle. It should take between 12-24 hours to fully dry. Once the cycle is complete, check for dryness and remove trays. Using a funnel, pack the herbs into mason jars and pop in an food safe desiccant to make sure they stay dry. I typically don’t use an O2 absorber with my herbs since I use them within a year. Label the jars and be prepared to enjoy in cooking or as garnish!


