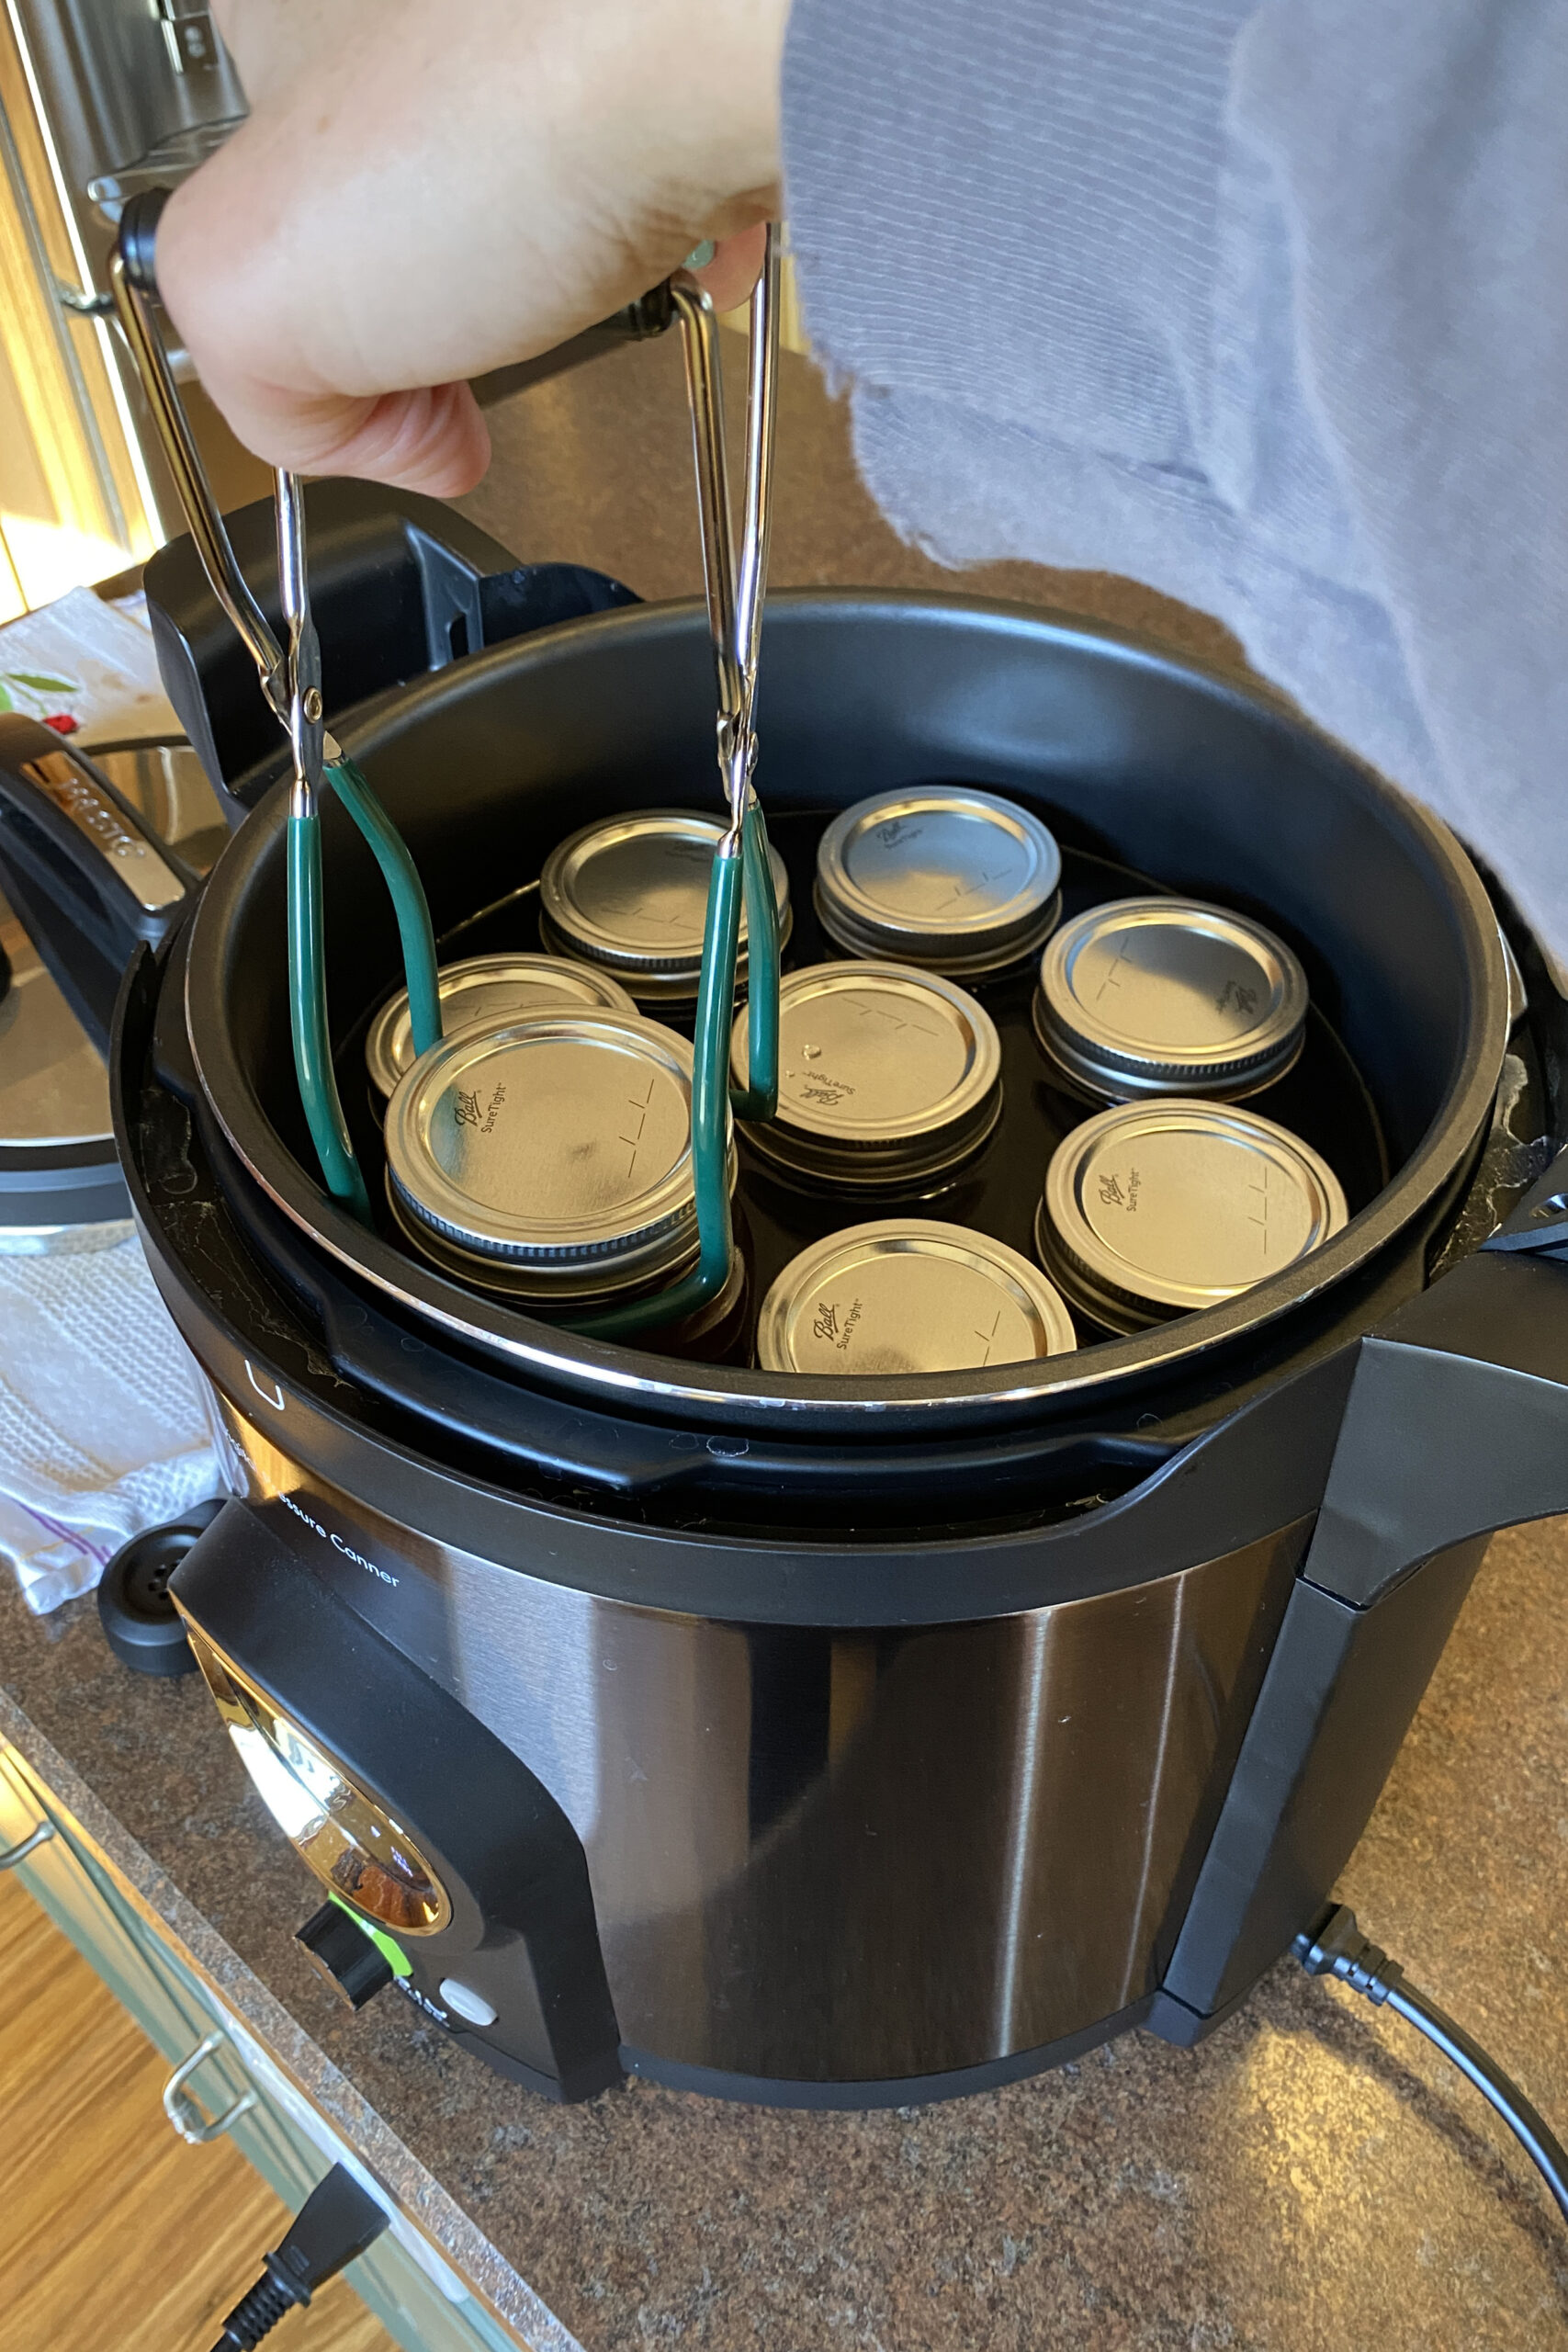
So now that you have made a wonderful pot of brothy goodness (click here for that post) with all of your vegetable scraps and chicken carcasses, let’s get to the canning part so your broth will be shelf stable and ready for your next recipe.
Here’s a step-by-step guide to canning broth safely:
Prepare Your Equipment: Gather all the necessary equipment including canning jars, lids, bands, a pressure canner, canning funnel, head-space measuring tool, jar lifter, ladle, clean dish towels, and a timer.
Prepare Your Broth: Make sure your broth is thoroughly strained to remove any solids or impurities. Skim any fat off the surface. Heat the broth to boiling.
Prepare the Jars: Wash your canning jars, lids, and bands in hot, soapy water, and rinse well. Alternatively, you can run them through a dishwasher. Keep the jars hot until ready to fill by placing them in a pot of simmering water or in the oven at a low temperature.


Fill the Jars: Using a canning funnel, carefully ladle the hot broth into the hot jars, leaving about 1 inch of headspace at the top of each jar to allow for expansion during processing.
Remove Air Bubbles: After filling each jar, use a non-metallic utensil such as a chopstick or plastic spatula to remove any air bubbles by running it around the inside of the jar.
Wipe Jar Rims: Using a clean, damp cloth or paper towel, wipe the rims of the jars to ensure there are no spills or residue. This will help create a proper seal.


Apply Lids and Bands: Place the lids on the jars and screw on the bands fingertip-tight. Do not overtighten.
Process in Pressure Canner: Place the filled jars in the pressure canner according to the manufacturer’s instructions. Ensure there is enough water in the canner according to the canner’s instructions (mine uses 3 quarts). Process the jars at the appropriate pressure and time for your altitude – my altitude is roughly 1000 feet, so I process for 20 minutes). Always follow USDA guidelines for safe canning practices.
Cool and Check Seals: After processing, turn off the heat and allow the pressure canner to depressurize naturally. Once it’s safe to open, carefully remove the jars with a jar lifter and place them on a clean towel or cooling rack. Let the jars cool undisturbed for 12 to 24 hours. After cooling, check the seals by pressing down on the center of each lid. If the lid does not flex or pop, the jar is sealed properly.
Label and Store: Label each jar with the date and type of broth, then store them in a cool, dark place. Properly canned broth can last for up to a year or more.
Following these steps will ensure that your canned broth is safe and delicious to use in your favorite recipes.
Search
Tags
applesauce balsamic Bread bread machine brine candle making canning broth casserole chia chicken broth chickens chicks comfort food cornbread creamy pasta easy family dinners Einkorn fall garden farm friends freeze-dry freeze drying fresh bread gardening ground beef dinner harvest-right herbs muffin multigrain no-knead bread perfect turkey preserving Salad salad dressing seeds seed starting skillet meals soy candles spaghetti squash squash recipes superfood taco turkey turkey left-overs water bath canning whole grain


Comments closed